With pretty much one month to go until Valentines Day, I wanted to make something and share a little tutorial.
So this weekend, I had a little play with a mini-ice cream mould I purchased a while back, but never actually used it until now!
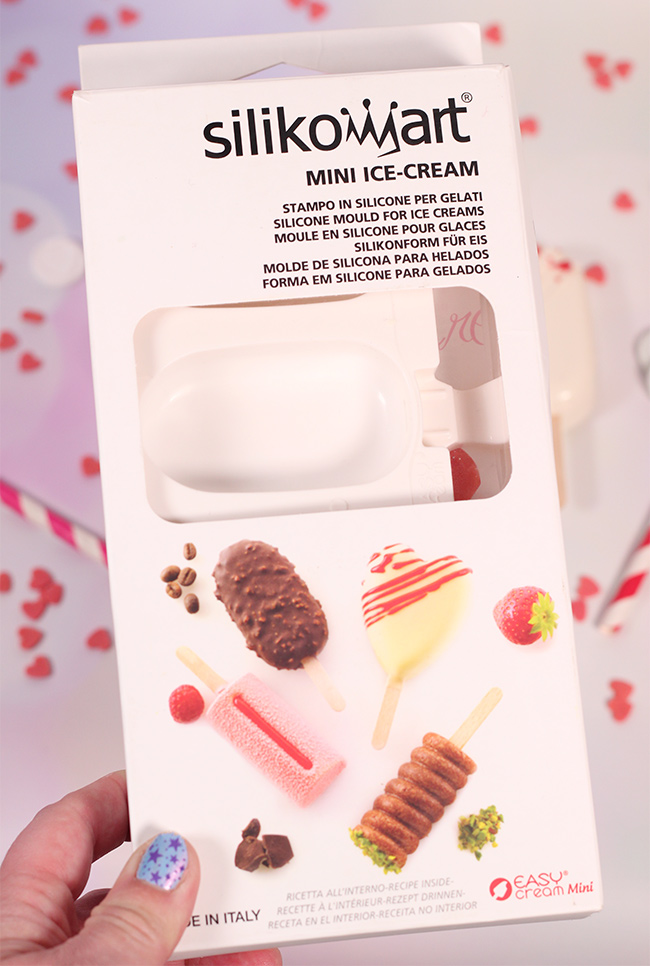
I purchased this from Amazon with some kind of cake pop in mind. Plus I had some left over chocolate cake cut off’s from my most recent cake creation; so this was the perfect opportunity to create something with the left over cake and buttercream!
If you don’t have any left over cake scraps, you can simply bake up some delicious cake from the following recipe:
ingredients:
For the cake:
50g (2oz) sifted cocoa powder
90ml boiling water
3 large eggs
50ml (2fl oz) milk
175g (6oz) self-raising flour
1 rounded teaspoon baking powder
100g (4oz) softened butter
275g (10oz) caster sugar
For the Buttercream:
250g unsalted butter, softened to room temperature
500g icing sugar
4oz dark chocolate
For the coating and decoration:
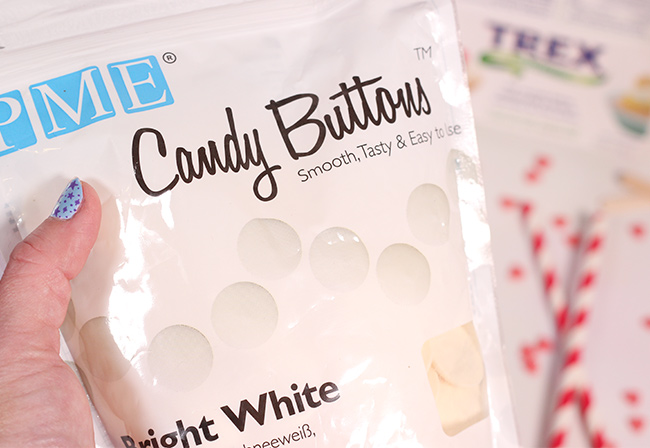
200g White chocolate or bright white candy melts from PME
Red and white sprinkles
Heart sprinkles
Method:
For the cake:
1. Pre-heat the oven to 180°C/Fan 160°C/Gas Mark 4. Grease a large, rectangular baking tin with non-stick cooking spray or butter then line the base and sides of the tin with baking parchment.
2. Blend the cocoa and boiling water in a large bowl then add the remaining cake ingredients and beat until the mixture has become a smooth, thickish batter. Pour the mixture into your prepared tin.
3. Bake in the pre-heated oven for about 25–40 minutes or until well risen and a skewer inserted comes out clean. Leave to cool in the tin for a few minutes then turn out, peel off the parchment and finish cooling on a wire rack.
4. Make the buttercream by creaming the butter in a free standing mixer fitted with a paddle attachment or in a large bowl using an electric hand whisk until light and fluffy. Gradually add the icing sugar and mix in between each addition (you don’t want to add the icing sugar all at once as this can create a huge mess and icing sugar dust clouds!!)
5. Melt the dark chocolate in a microwave for about 20 seconds or place in a heatproof bowl on top of a pan of simmering water. Add this to the buttercream mixture and set aside.
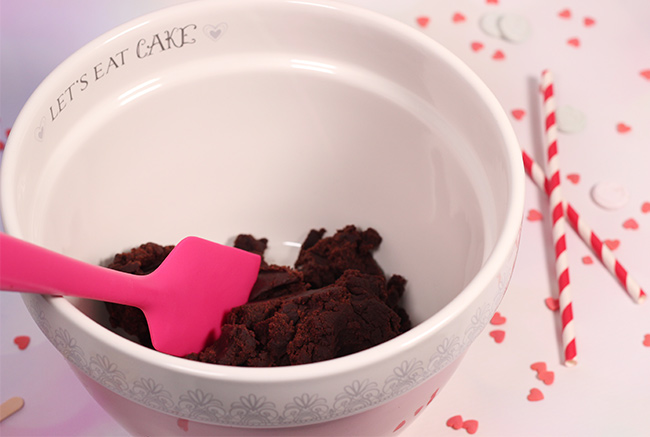
6. Once the cake is cooled, break up into finer crumbs.
Add the buttercream and mix well, until it forms a ball that’s dough like.
7. Meanwhile, melt the white chocolate or candy melts in a heatproof bowl over a pan of simmering water or a chocolate melting pot. (The one I have is from PME and can be purchased from Amazon for under £20 at the mo!)
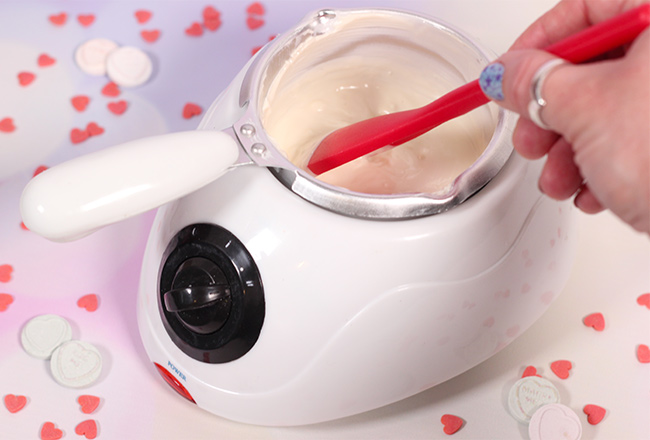
If you’re using the candy melts and find it to be a little thick once melted, you can add in a small teaspoon of Trex and stir to thin it out…works a treat!
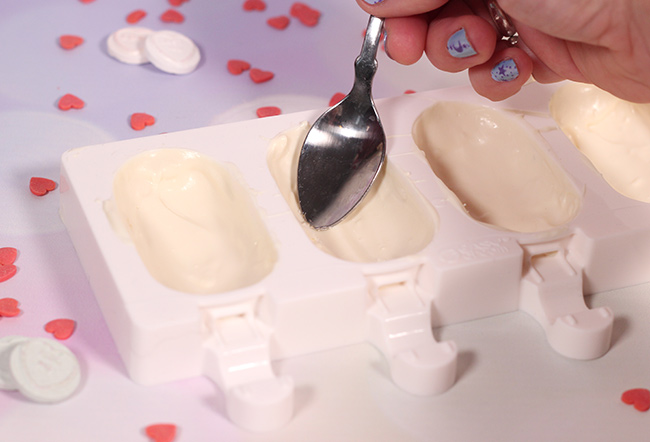
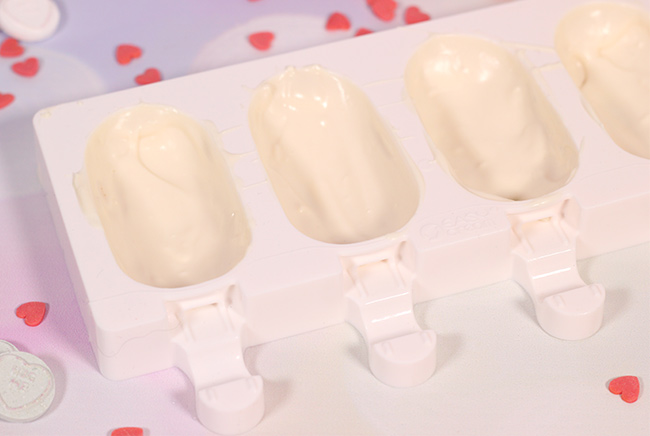
8. Spoon the chocolate into the moulds and use the back of a small teaspoon to spread up the sides of the moulds until well coated.
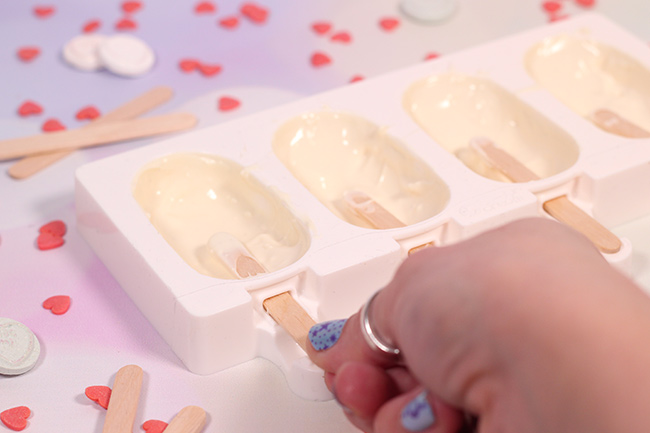
9. Insert the lolly sticks while the chocolate is still soft, then pop in the freezer to set for about 10 mins.
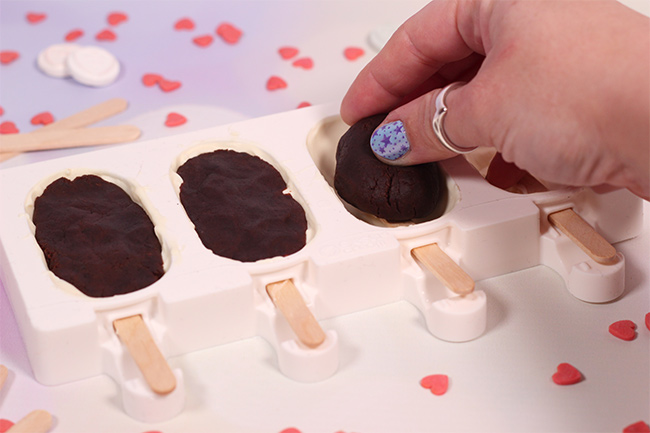
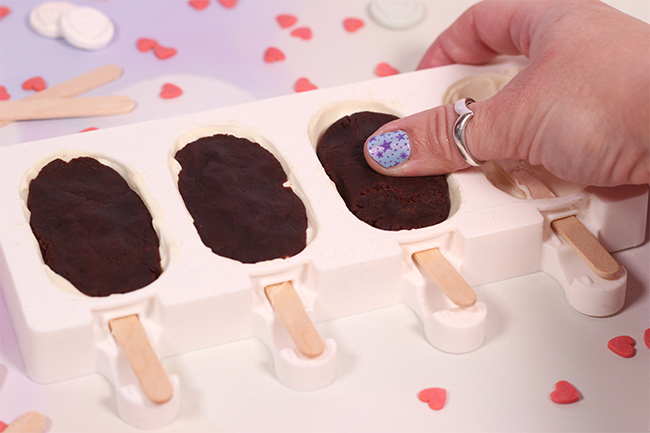
10. Break off pieces of the chocolate cake and buttercream “dough” mixure, push into the moulds making sure you don’t fill up to the brim with the cake, as you want to leave a little gap at the top to fill in with more white chocolate.
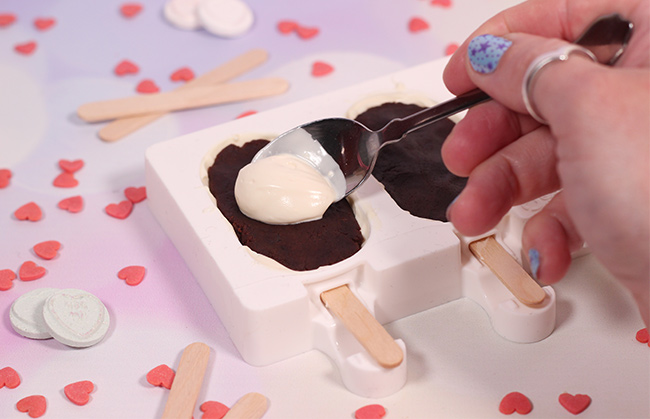
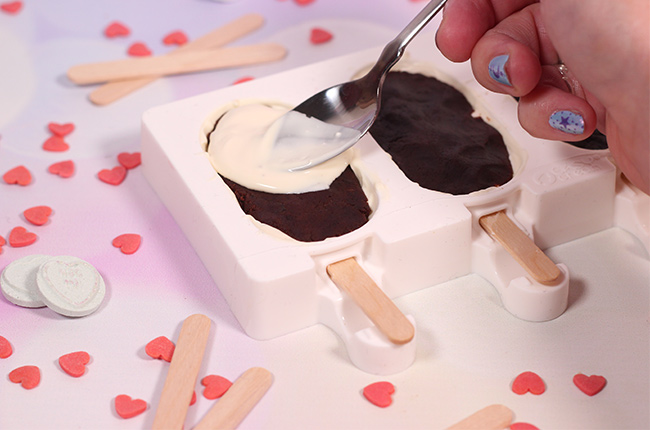
11. Spoon over the white chocolate/candy melts and spread to the edges then smooth over with an off-set spatula.
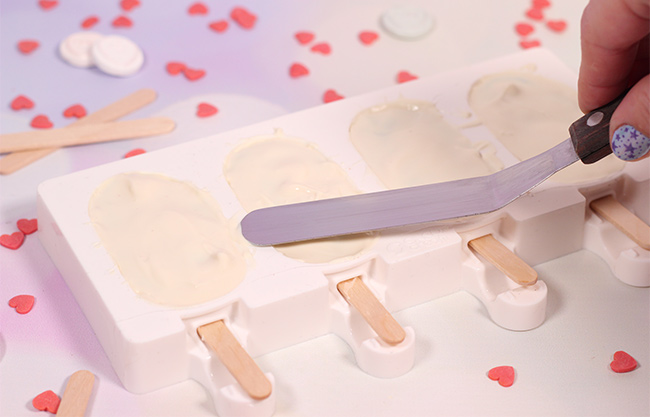
12. Pop back into the freezer for 10 mins to set. Once ready; carefully flex the mould to loosen the pops and push them out.
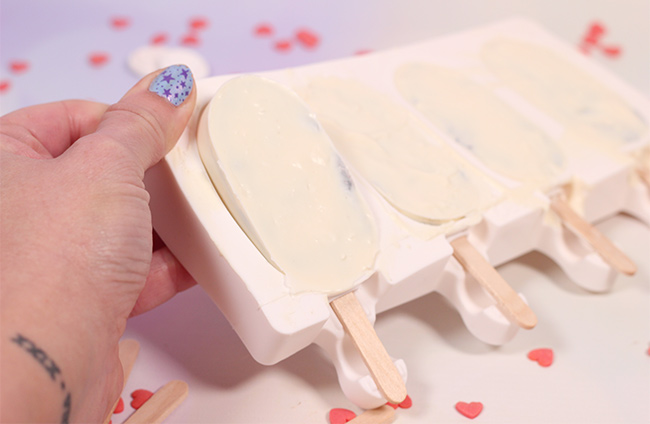
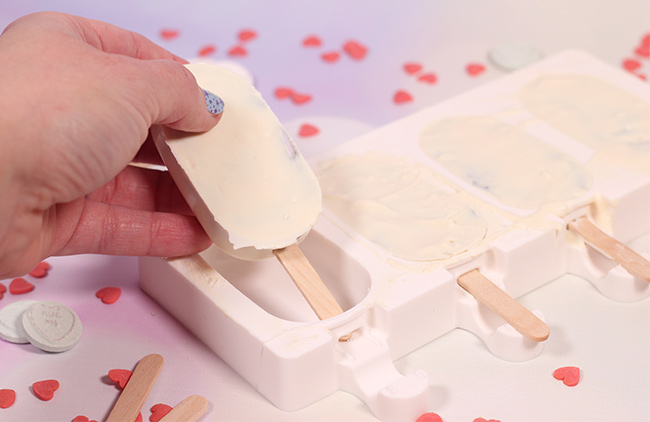
The pops are now perfect little blank canvasses ready to decorate!

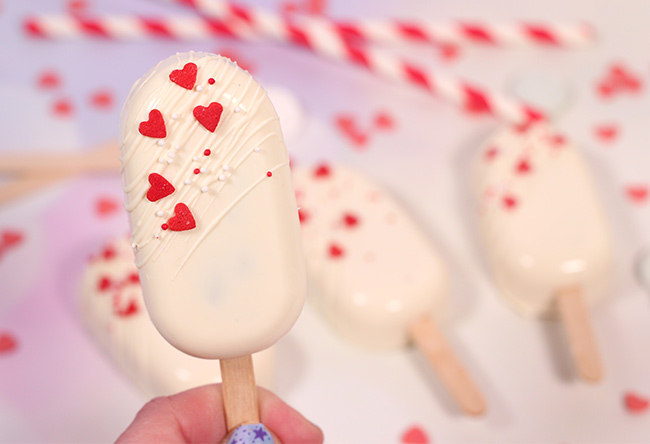
I drizzled over some more white candy melts and showered with little red and white sprinkles plus a few red heart sprinkles!
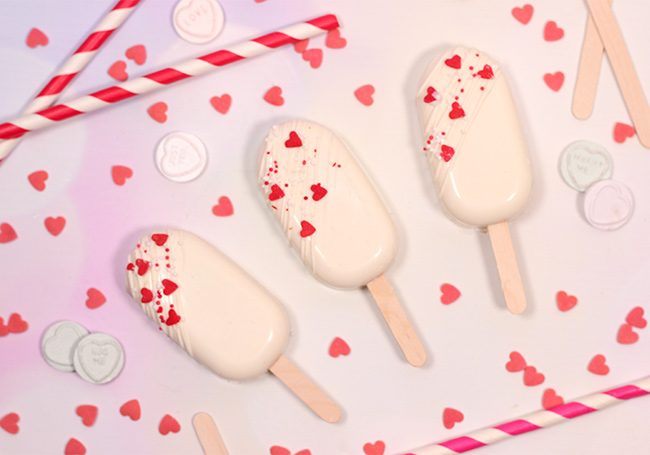

They are the perfect yummy gift wrapped up in little cellophane bags or presented in a cute box! They would also make great wedding favours so you’re not limited to making these for Valentines Day!
I can’t wait to use this mould to create more fun cake pop designs!
If you want to see more recipes and tutorials, I have many here plus Easy Bake video recipes over on my YouTube Channel
Happy Baking!
Thirzah xoxo


2 Responses
Hi!!
Browsing through your Instagram, came here, Lovely tutorial, I bought a mold last year and because life and stuff didn’t make mine, this tutorial renovated my wish to finally try it, thanks so much, yours came beautiful!
Hi Maria,
Thankyou so much. I’m glad my tutorial sparked your creativity!
Happy Baking!
Thirzah xoxo